Table of Contents
- Introduction
- Mainboard with RIAA Equalization
- MC Pre-preamplifier
- XOno MC Pre-preamplifier
- Audiophile Review
- Update 2022
Introduction
April 22, 2018
I have been working with the Pass Labs XOno phono preamp since 2005. Now it was time to incorporate the experience I have gained over the years into the development of my own discrete phono preamp: the RStAudio DPV1.
It was born out of the realization that the XOno’s circuitry could indeed be improved, and it naturally carries the DNA of this outstanding phono preamp. I also wanted to see what could be achieved by optimizing the design of this circuit topology.
The following points outline the key technical features for the development of the DPV1:
- DC coupling from input to output
- Combined passive (75μs) and active (318μs, 3180μs) RIAA equalization
- Discrete amplifier stages
- 2 plug-in MC pre-preamps
- Discrete voltage regulators
- All adjustable settings switchable via relays
Even though I don’t have the schematics, there will be similarities and parallels with the XP-25 and the Xs phono preamp from Pass Labs. These two phono preamps are also further developments of the XOno.
On April 10, 2018, the DPV1 took over my XOno’s position in the VV5
Shortly after this page was first published, I already received several inquiries about this phono preamp. However, building a clone is quite difficult, as it requires 28 2SK170BL transistors and an equal number of 2SJ74BL transistors — most of which must also be matched. Additionally, the relays can only be controlled via a microcontroller circuit. For this reason, my two DPV1 boards will remain one-of-a-kind. I will not be publishing or sharing any schematics or layout data.
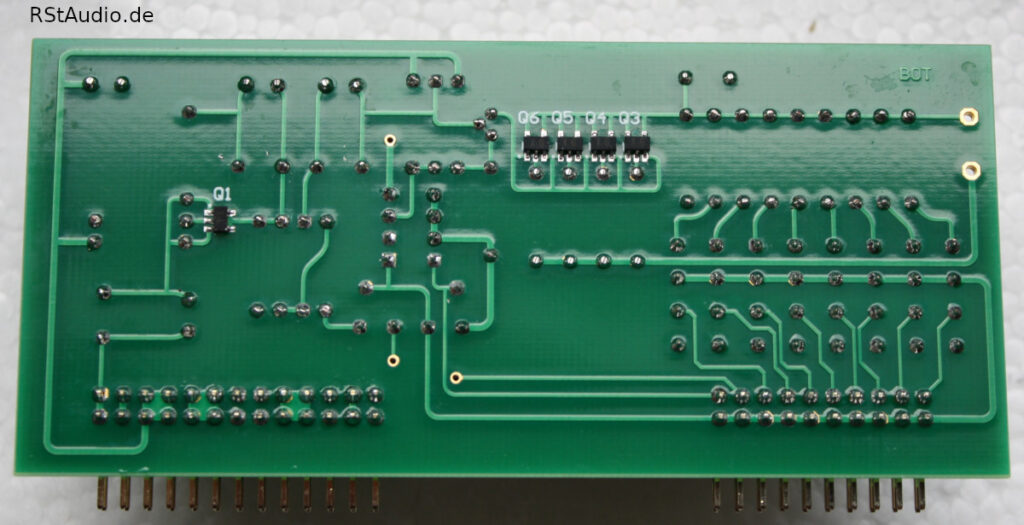
Mainboard with RIAA Equalization
April 11, 2018
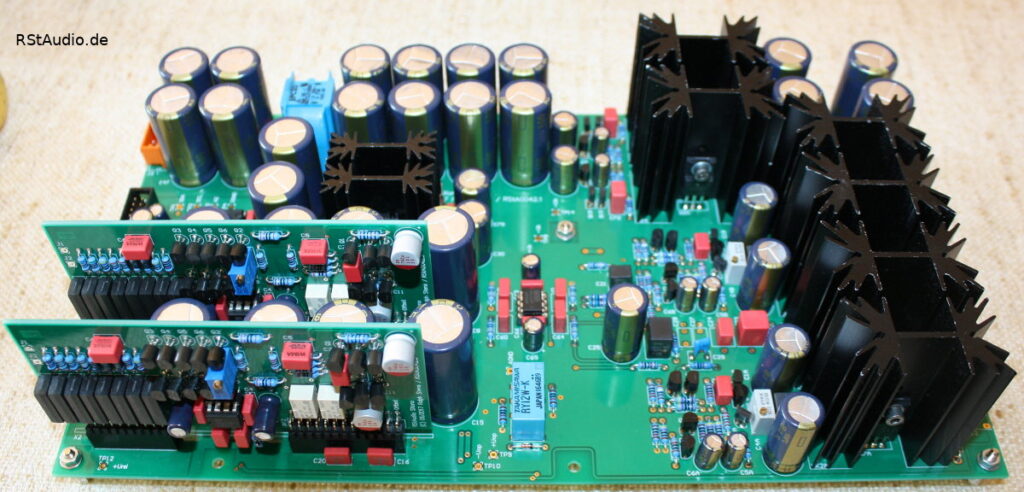
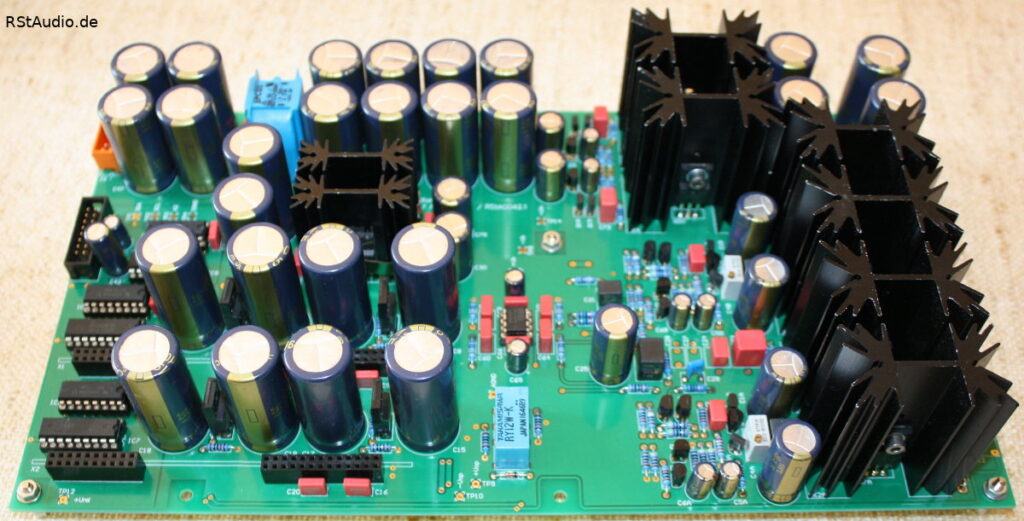
The main board is designed to match the exact dimensions and mounting holes of my XOno board in the VV5 preamplifier. This means I can replace the board directly without any major modifications. Only the software in the microcontroller needs to be updated.
This board contains the following components:
- Slots for 2 MC pre-preamps
- Passive 75μs input filter
- Discrete amplifier with 40dB gain, including RIAA equalization (318μs, 3180μs)
- Discrete inverting amplifier for generating the balanced output signal
- Two servo controllers for DC stabilization of the discrete amplifiers
- Passive low-impedance 50 kHz low-pass filter at the output
- DC power supply input with CLC filtering
- Discrete voltage regulators with optimized circuit topology
- Digital control of all relays
The amplifiers are discrete operational amplifiers that differ only in their respective negative feedback configurations. The input stage of these amplifiers consists of a low-noise JFET differential amplifier with a cascode configuration. For sonic reasons, the output stage is operated at a high quiescent current, which is why appropriate heat sinks are necessary on the board. In addition, there are two current sources at the output that ensure single-ended Class-A operation at low levels of modulation. Due to the use of servo controllers, coupling capacitors at the outputs are not required.
The board features two slots for pre-preamps. These are absolutely necessary when using MC cartridges, as additional gain is required. However, even when using an MM system, at least one low-noise buffer is needed due to the passive 75μs filter at the input. Given my preference for MC systems, though, this is more of an academic consideration for me. The output signals from these two boards are routed via a relay directly to the input of the RIAA amplifier. Both plug-in boards have their own voltage post-regulators, located directly at their slots and connected downstream of the discrete voltage regulators.
As is customary in my designs, all relays are controlled via an I²C bus. This ensures that no digital signals are transmitted when nothing is being switched. This completely prevents any interference with the sensitive phono signals. In addition, the digital ground is completely isolated from the analog ground.
MC Pre-preamplifier
March 26, 2018
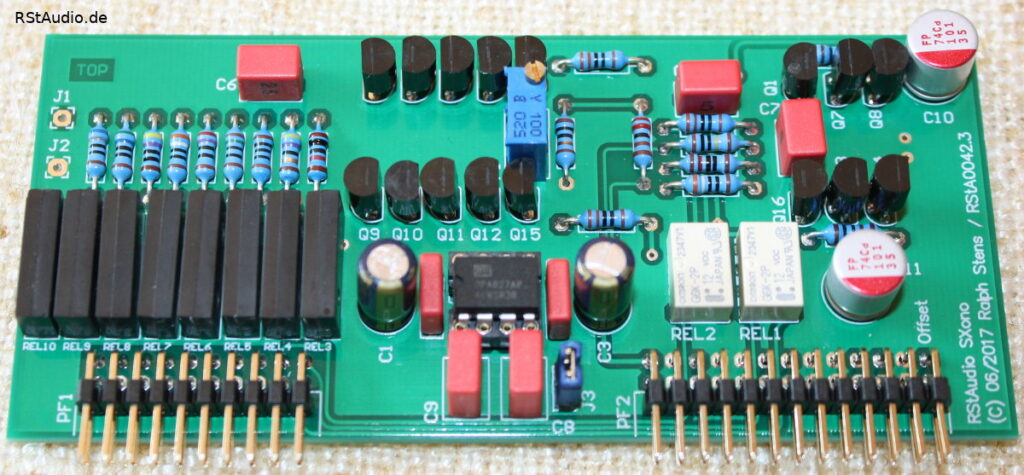
The input of the MC preamplifier features switchable resistors that are matched to the cartridges I use. They are connected to ground via relays. This allows for a wide range of adjustments to the input impedance for the connected moving-coil cartridge.
The first amplifier stage consists of four n-channel JFETs connected in parallel and four p-channel JFETs connected in parallel. Each of these circuits includes an additional cascode connected to the common drain. This configuration thus forms a complementary single-ended input stage. The parallel connection significantly reduces the stage’s intrinsic noise.
The input stage is followed by a complementary output driver, which also features JFETs connected in parallel. The gain of the entire input stage is switchable. The DC offset is set to the lowest possible value using a trimmer and is then actively regulated by a servo controller. For the servo controller, I have used a very high-quality, low-noise audio op-amp in this section.
XOno MC Pre-preamplifier
11. Februar 2019
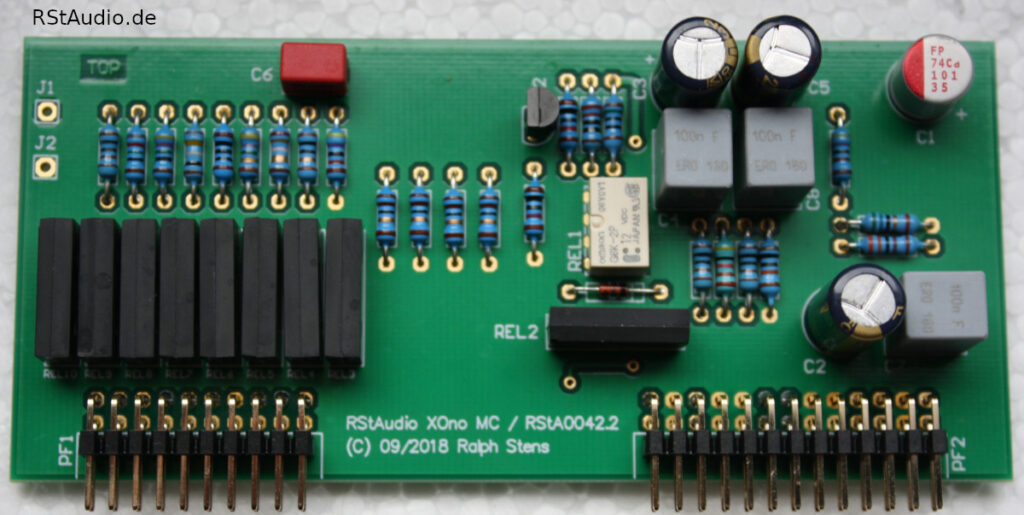
It’s common knowledge in the scene that the “gold dust” — namely the 2SK170GR and 2SK170B L— is slowly running out, making it increasingly difficult to build an XOno, for example. However, Toshiba’s 2SK2145 dual JFETs are still in production, also in GR and BL versions. I used these JFETs in the input stage of the discrete operational amplifier described above.
Why not try using the 2SK2145 for an XOno MC stage? I’ve designed a module that implements such an MC stage. The interfaces are identical to those of the MC module described above, so I can test this XOno module in the DPV1.
The drawbacks of the 2SK2145 should not be overlooked either: At 15mS, its forward transfer admittance is significantly lower than that of the 2SK170, which is 22mS. However, this can be compensated for by using a larger number of JFETs. In addition, the source terminals of the two JFETs are internally connected and brought out via a single pin. This naturally limits the range of possible applications.
I replaced each 2SK170 with a 2SK2145. As a result, eight JFETs are now connected in parallel at the module’s input, instead of the four specified in the circuit described here. The same applies to the JFET at the output. Doubling the number naturally changes the operating points, which I have adjusted accordingly. This significantly reduces the stage’s noise and compensates for the lower admittance.
Audiophile Review
12. April 2018
How does this phono preamp sound compared to the XOno?
The first thing you notice is the silence when the stylus is lifted. This phono preamp is completely silent — even at a gain setting of 71dB! After about five hours of intensive listening, one thing is clear: there’s no going back to the XOno. Of course, it will take a little more time to break it in before I can make a final judgment.
May 7, 2018
It’s been a few weeks since I started using it. The break-in period was shorter than with an XOno, which is certainly due to the lack of coupling capacitors. The DPV1 is significantly quieter than the XOno I used previously. The fine detail has improved even further. Music sounds with an incredible intensity, musicality, and precision — something I’ve never heard from a vinyl record before. I’ll go so far as to say, without any modesty, that it’s the best phono preamp I’ve ever heard — and I’ve listened to quite a few highly regarded ones. As I mentioned above, there’s definitely no going back for me.
April 17, 2019
I used the XOno MC modules in input 2 of the DPV1 for several weeks, which allowed me to compare them directly with my MC pre-preamp (see above). The noise level of the modified XOno MC stage is just as low as that of the DPV1 input stage. The sonic characteristics are very similar, though my MC stage is a bit more open. The differences, however, are marginal and only audible in a direct comparison. I could easily live with the XOno MC stage described here, and it is an excellent replacement for an XOno using readily available components.
Update 2022
January 10, 2023
When I was designing my new 10-channel VV7 preamplifier, I intended for the DPV1 to be part of the project. Of course, since developing the DPV1, I’ve had a few ideas on how to improve it further. However, most of the changes are purely cosmetic and do not contribute to its audiophile performance.
In the years since developing the DPV1, I have gained some experience with voltage regulators. In the DPV1, I use discrete Pass-style regulators, which I have preferred for many years. In the meantime, however, I have been using modified Jung regulators in various applications and am thrilled with their performance.
Based on these considerations, I developed the DPV1R2 as a component of the VV7. The most significant change involved the power supply. All information about the DPV1R2 can be found on the VV7 preamplifier page.