
Introduction
November 24, 2009
In the spring of 2006, I began working on the design of an active crossover (in parallel with the development of a subwoofer). First, I obtained the available documentation for the Pass Labs XVR1 and tried to understand the technology behind this design. However, I was not satisfied with the results of various simulations regarding the transfer functions of the filters presumably used in this crossover. For me, a smooth frequency response when summing all partial frequency responses and the same phase response of two adjacent filters in the crossover region were basic requirements for my design. On the other hand, I really liked the use of discrete operational amplifiers in the XVR1.
Ultimately, the only filter designs under consideration were state-variable or Sallen-Key filters. I decided to use Sallen-Key filters because they require fewer operational amplifiers per signal path. An excellent article on this type of crossover can be found on the Elliott Sound Products website.
2-Way Crossover with Integrated Operational Amplifiers
November 24, 2009
Before building a crossover using discrete operational amplifiers, I wanted to gain some experience with a simpler crossover. For this reason, I designed an active 2-way crossover with integrated operational amplifiers, which I plan to use as an intermediate step and test setup in my audio system.
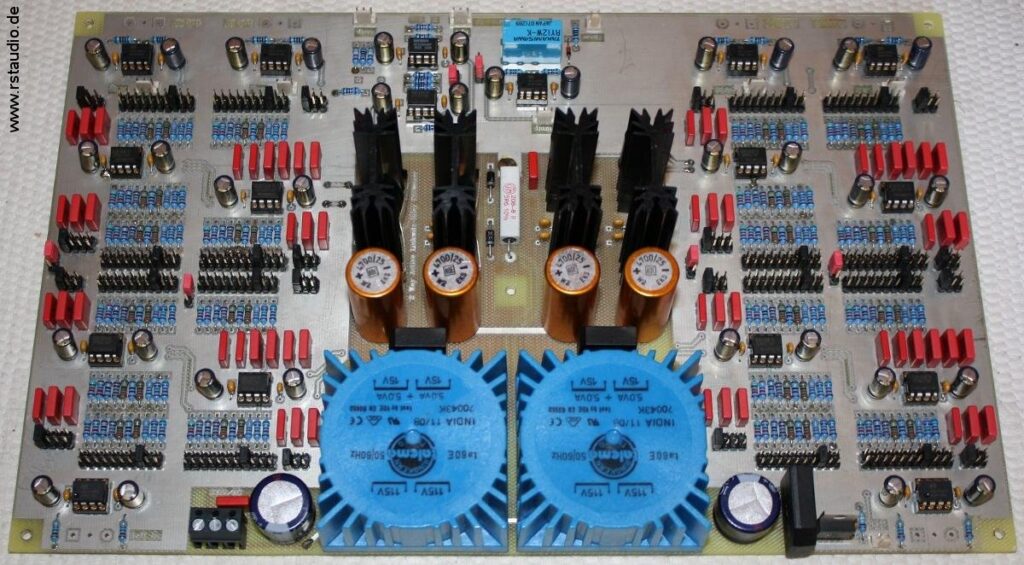
I adopted the adjustable frequencies via jumpers from the XVR1 design. In addition, I incorporated a stage to combine the two low-frequency signals — the mono signal for the bass — with the subsequent ability to adjust the phase and frequency response. Both channels, including the necessary power supplies — which are again implemented in the proven dual-mono design — are housed on a single board.
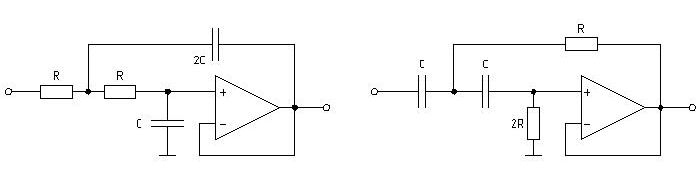
The filters consist of a standard Sallen-Key filter structure, which can be found in any textbook on active filters. In the low-pass filter, which uses second-order Butterworth coefficients, both resistors are of equal value, and the capacitance in the feedback loop is twice as large as that at the positive input of the operational amplifier (see top left). In the high-pass filter, the positions of the resistors and capacitors are reversed. The two capacitances have the same value, and the resistor at the positive input of the operational amplifier is twice as large as the feedback resistor (see top right). When determining component values, it is advisable to specify the capacitors (E12) and calculate the resistors (E96). Given the capacitance and frequency, the resistance is calculated using the following formula:
To double the value of a component, connect two identical resistors in series for resistance, and two identical capacitors in parallel for capacitance.
Two identical second-order Butterworth filters connected in series result in the fourth-order Linkwitz-Riley filter I prefer, with a slope of 24dB.
All of these considerations led to the following requirements:
- Active Linkwitz-Riley 2-way crossover
- 6/12/18 and 24dB filter slope selectable (Linkwitz-Riley filter available only at 24dB)
- 3 decades and 10 transition frequencies per decade can be selected
- Balanced inputs and outputs
- Mono sum signal with phase-shifting stage for the bass
- Circuit for boosting or cutting bass in a mono sum signal
- Both channels, including power supplies, on a single board
The following schematic diagram was created based on the above requirements:
- Schematic Overview of the complete Filter
- Circuit Diagram of the symmetrical Inputs
- Circuit Diagram of the High Pass Filters
- Circuit Diagram of the Low Pass Filters
- Circuit Diagram of the symmetrical Outputs
- Circuit Diagram of the Summing and Phase Shifting
- Circuit Diagram of the Power Supply
- Circuit Diagram of the 230V/AC DC-Filter
Taking into account the selected resistance and capacitance values, the following cutoff frequencies result for the filters:
| R [kΩ] | ||||||||||
| C [nF] | 5,62 | 7,15 | 8,87 | 11,0 | 14,0 | 18,0 | 22,1 | 28,0 | 35,7 | 45,3 |
| 1 | 20025 | 15740 | 12688 | 10231 | 8039 | 6252 | 5092 | 4019 | 3152 | 2484 |
| 10 | 2002 | 1574 | 1269 | 1023 | 804 | 625 | 509 | 402 | 315 | 248 |
| 100 | 200 | 157 | 127 | 102 | 80 | 63 | 51 | 40 | 32 | 25 |
| Freq. [Hz] |
Installation of the OP Crossover in the Enclosure
November 28, 2009
I mounted the crossover in a slim-line enclosure with a 10-mm-thick front panel from HiFi 2000. The knobs are also from this manufacturer. I made the mounting plate to which the electronics are attached myself. I performed all the mechanical machining of the enclosure on a Datron M35.
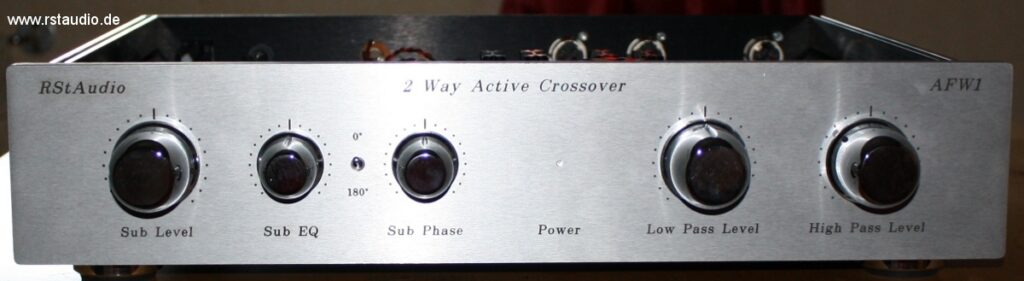
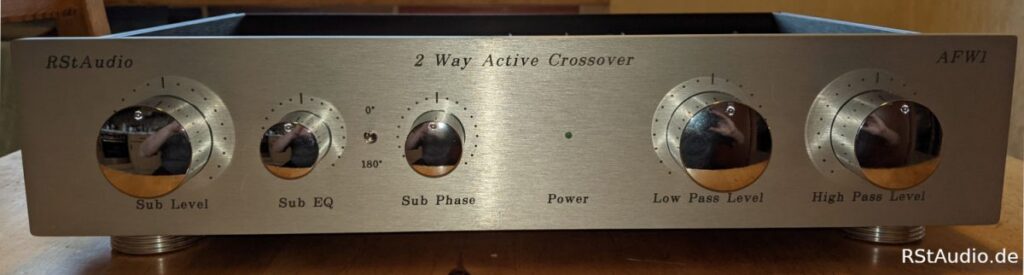
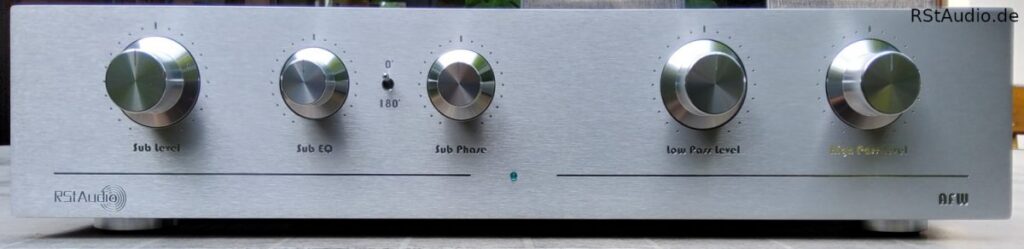
Shown here are the crossover controls. To the right of these are the volume controls for the high-pass and low-pass channels. On the left side are the settings for the mono subwoofer channel: the level control, the bass boost/cut control, the switch for the 180° phase shift, and the control for the continuous phase shift stage.
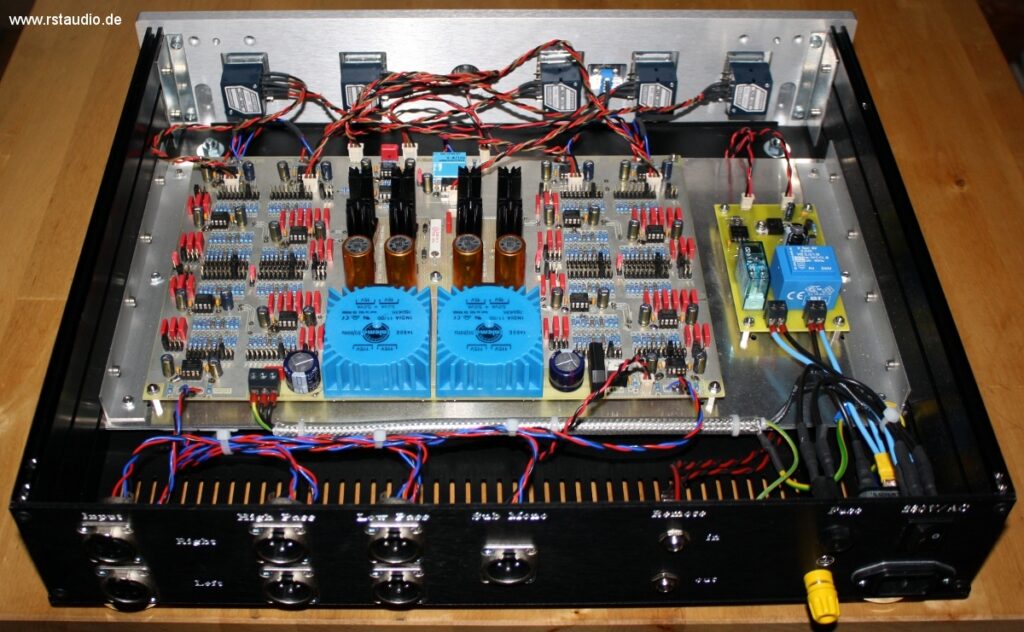
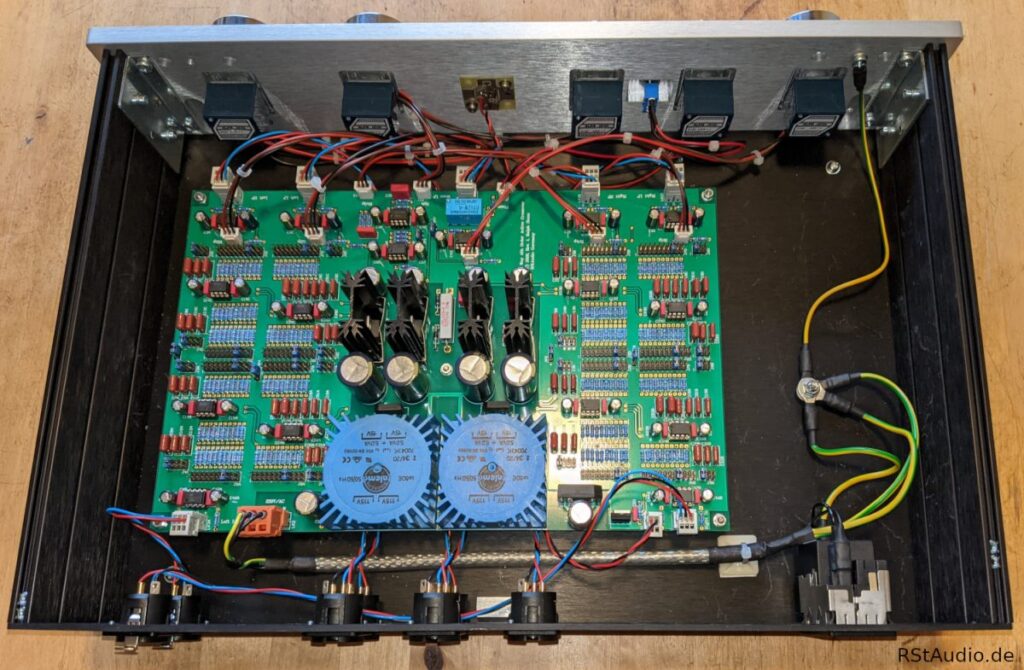
The photo above shows the electronics installation. You can clearly see the large audio board with the filters and the power supply. To the right of it is a small circuit board with the remote power switch.
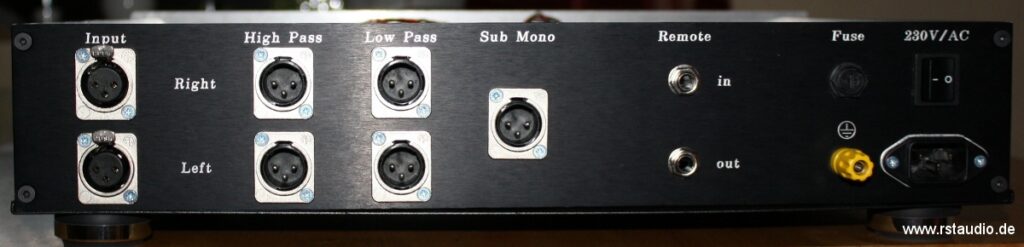
The connectors are located on the back of the crossover. On the left are the two balanced inputs; to the right of these are the outputs for the high-pass and low-pass channels, as well as the mono signal for the subwoofer. The “Remote” terminal is used to transmit and route the signals required to power on the system via a control voltage. On the right side, you can see the power jack, the power switch, and the fuse. The audio circuit’s ground is connected to a ground bus via the ground jack.
Replicas of the AFW1
September 14, 2021
AFW1 from Volker W.
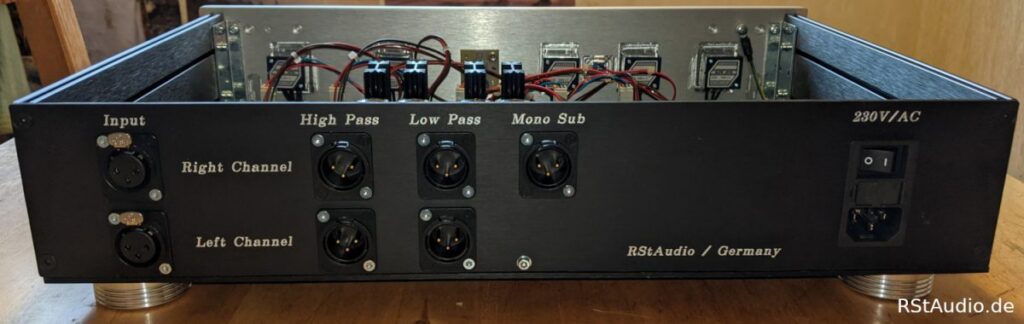
I mounted this crossover in an enclosure with aluminum bottom and top panels, which eliminated the need for a mounting plate. The enclosure is also shorter. Upon request, the electronics for remote activation have been omitted. I used different connectors on the circuit board for the input and output jacks. Additionally, different knobs have been added to the front panel.
AFW1 from Guido F.
What makes this AFW1 special is its front panel. Just like the XOno 2019 made for Guido, it was milled by clearaudio’s main supplier. The knobs were also custom-made. At Guido’s request, the lettering was left unblackened.
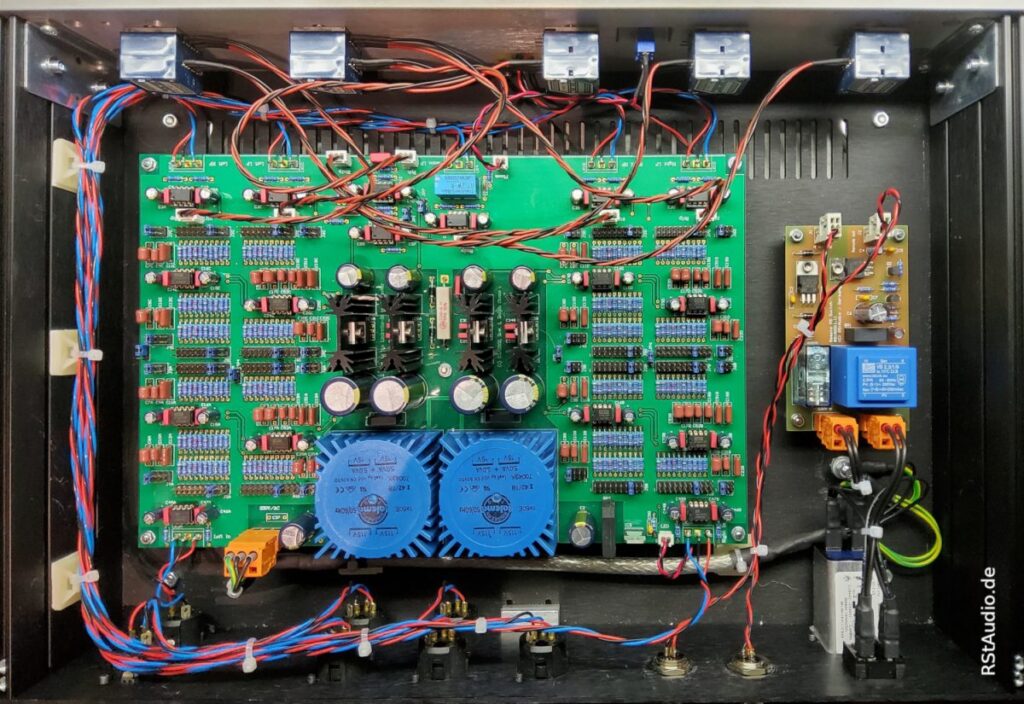
The remote on/off control is located to the right of the filter board. It is used to turn the device on and off via a DC control signal from the preamplifier.